Connecting to an SSTP VPN server from Windows
You can use an SSTP (Secure Socket Tunnel Protocol) tunnel to connect to the local network of the Keenetic router remotely. This method is convenient because user data is sent as HTTPS traffic, and in the latest versions of Windows operating systems, no additional programmes are required for connection.
An SSTP server configuration is shown in detail in the SSTP VPN server article.
Below is a step-by-step procedure for connecting to an SSTP server from a remote computer running Windows 10.
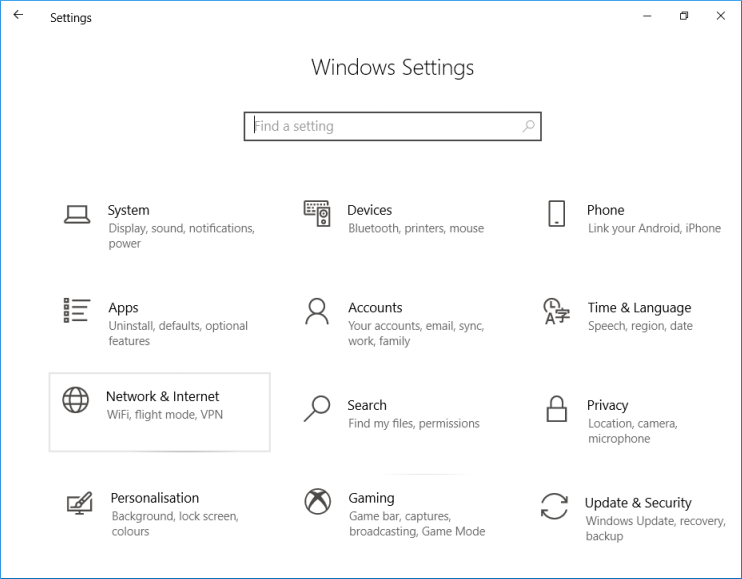
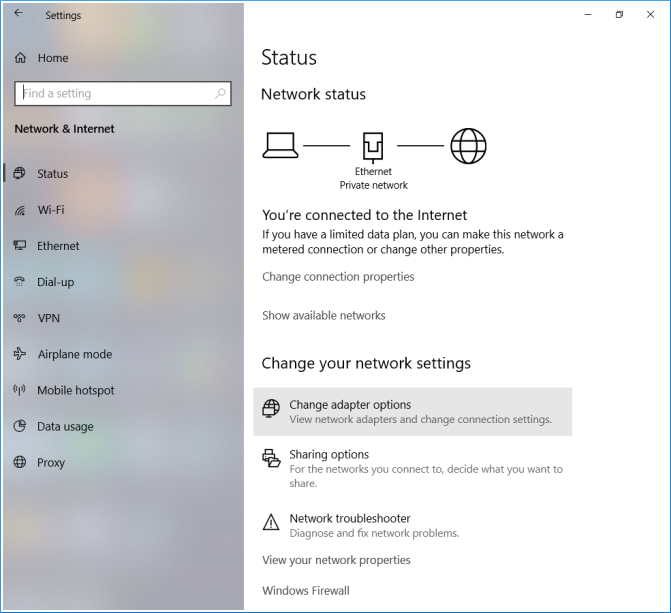
To connect to an SSTP server, you need to add a VPN connection to the Windows computer. To do this, go to the Windows Settings menu and open the Network & Internet section.
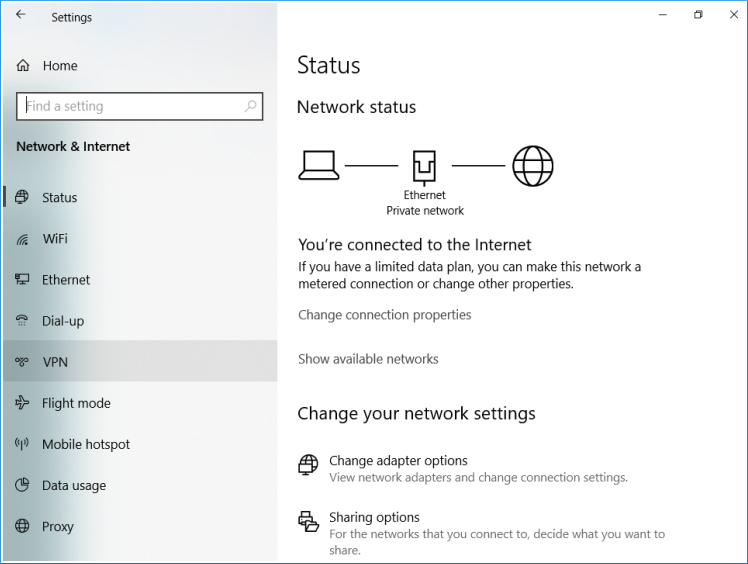
Then go to the VPN settings.
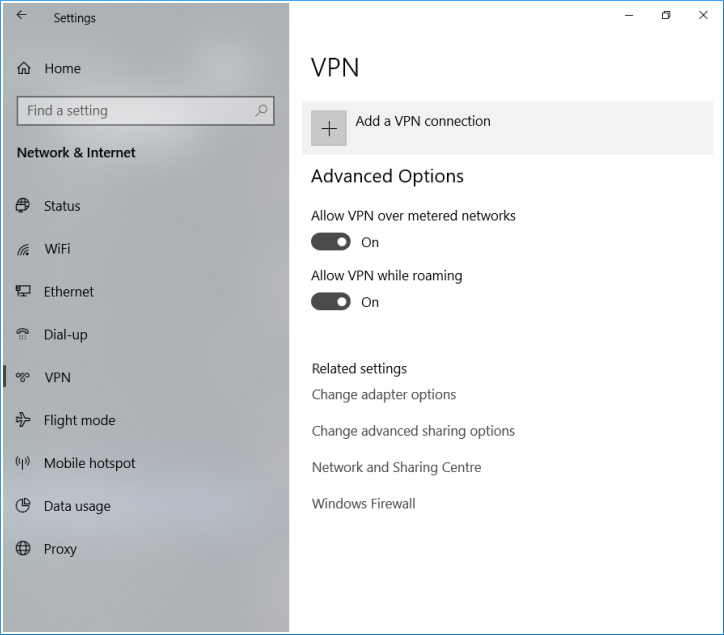
Click on Add a VPN connection.
In the window that opens, you must enter the following settings:
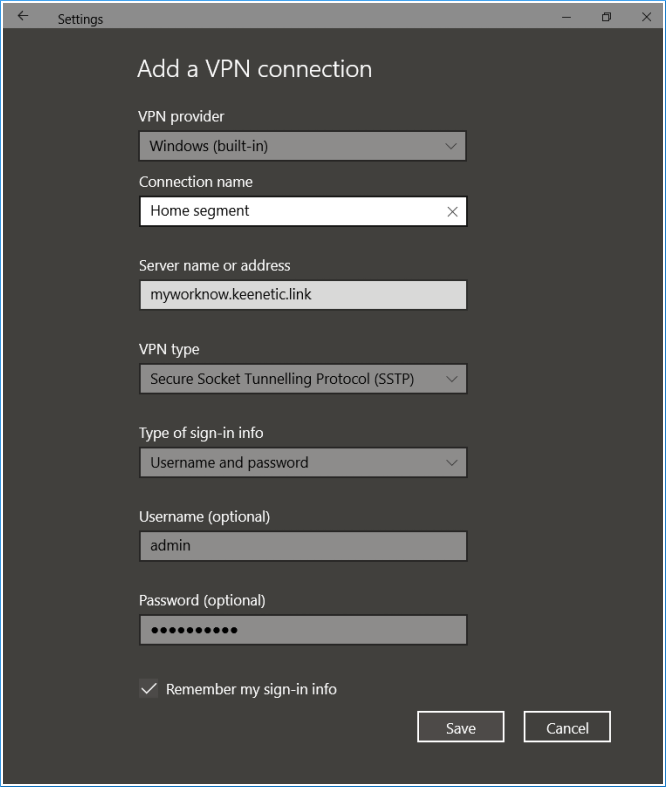
VPN provider — Windows (built-in)
Connection name — any custom name for identifying the tunnel, e.g.
Home segment.Server name or address — domain name registered for the router at KeenDNS.
VPN type — SSTP protocol
Type of sign-in info — Username and password
In the Username and Password fields, you can specify your router account details so that you do not have to enter them every time you connect and click the Save button.
To prevent your computer from using a tunnel to access the Internet, but only to connect to the router's local network, you will need to configure the VPN connection settings further. Go to the Change adapter options menu, which is available under Change your network settings (via the Network & Internet — Status view).
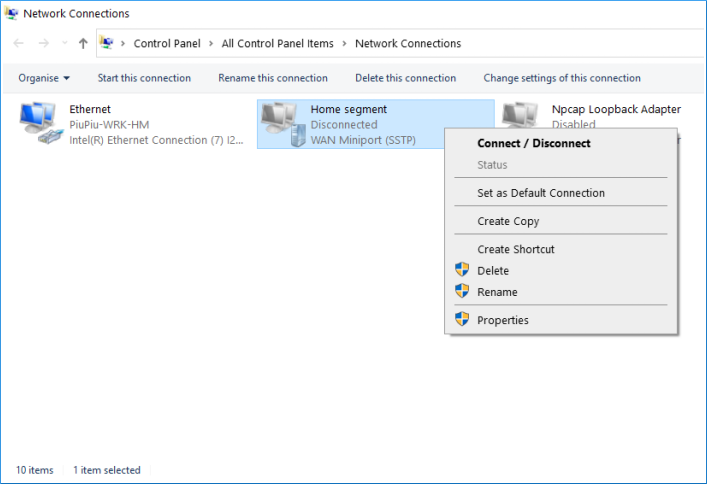
After clicking on Change adapter options, the Network Connections window will appear. In the context menu of the network adapter (available by right-clicking) that matches the tunnel connection, select Properties.
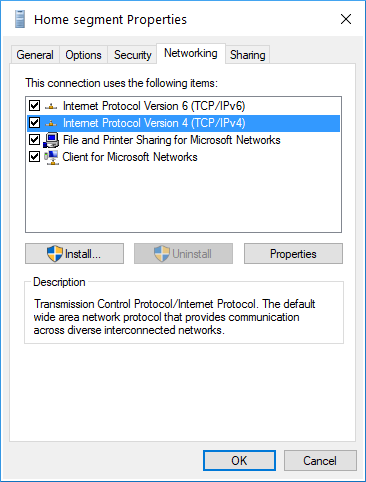
The tunnel property setting window opens. On the Networking tab, select the Internet Protocol Version 4 (TCP/IPv4) component and click on the Properties button.
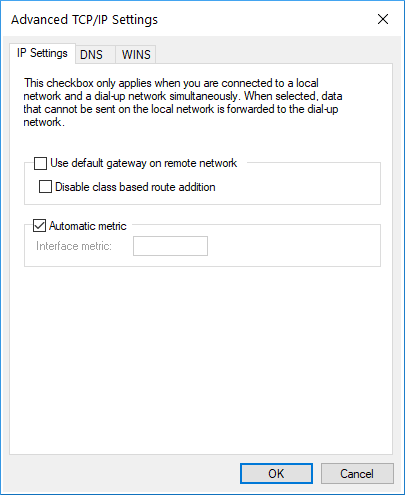
In the TCP/IPv4 property setting window, click the Advanced button.
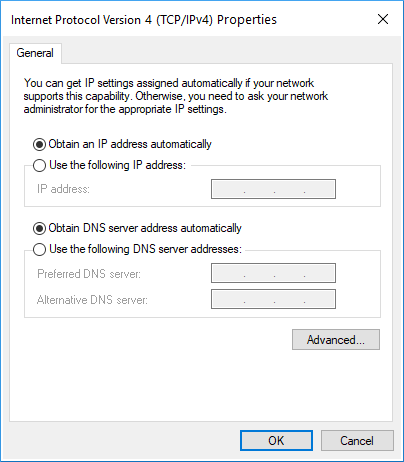
On the IP Settings tab, in the Advanced TCP/IPv4 Settings window, you must disable the setting Use default gateway on remote network. To apply the setting, close this window and the additional windows that caused it to open using the OK button.
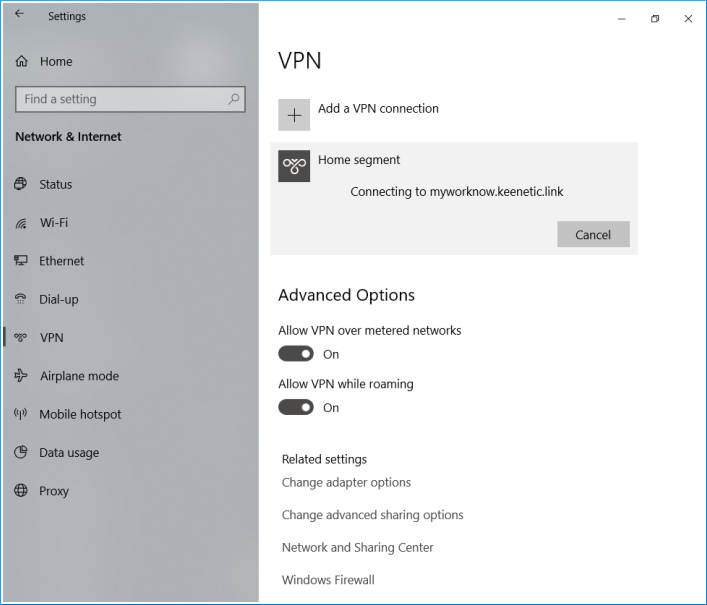
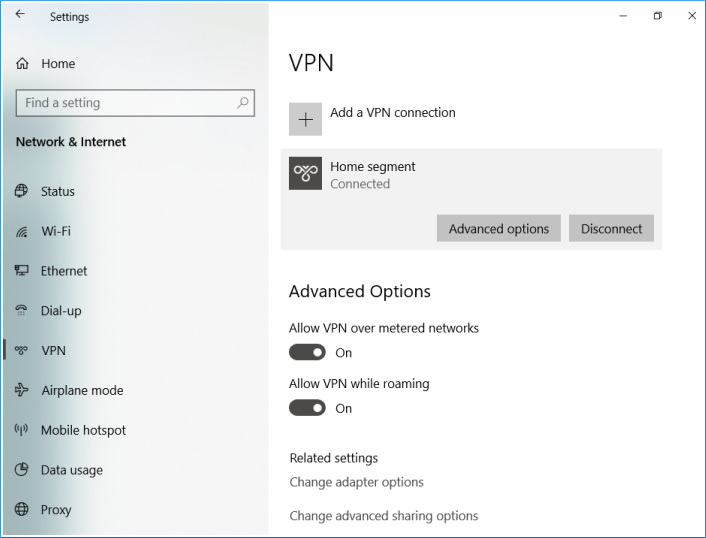
The configured connection is displayed in Network & Internet — VPN or in the Network menu in the system notification area (at the bottom right of the screen).

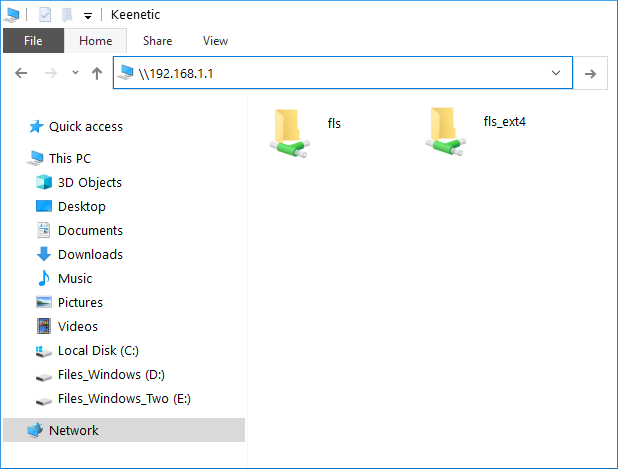
When the tunnel is established, you can access the resources of your Keenetic local network on your computer.
For example, by typing in the Explorer address bar \\192.168.1.1 (IP address of the router on the local network), you can access a connected USB drive.

Tip
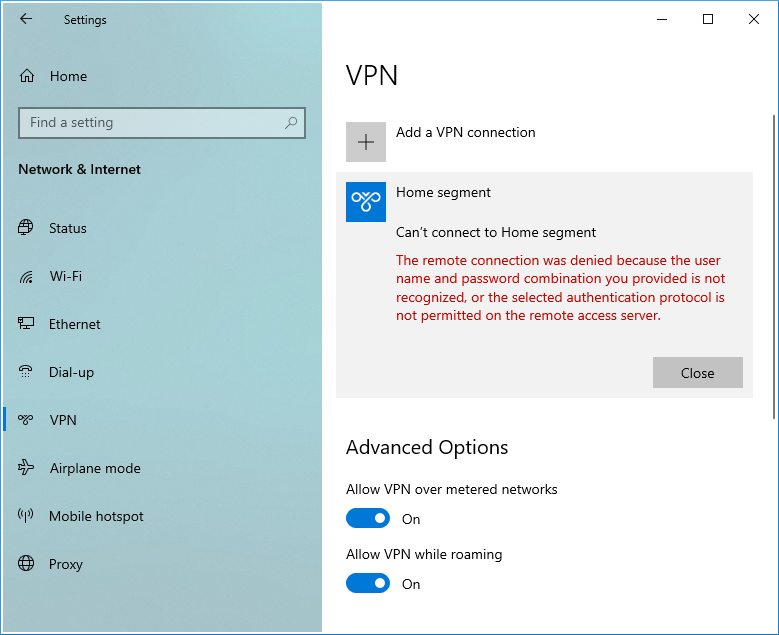
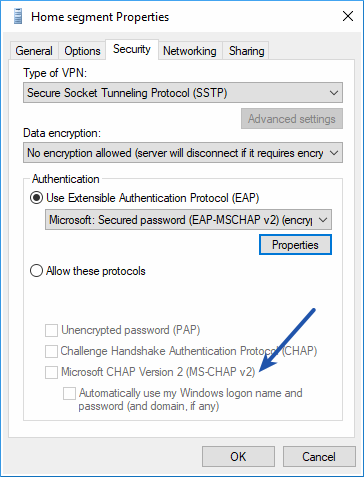
Occasionally, in some versions of Windows 10, when you create a new SSTP VPN connection, the MS-CHAPv2 authentication protocol is not activated by default for some reason and you may see a message when you connect: The remote connection was denied because the user name and password combination you provided is not recognized, or the selected authentication protocol is not permitted on the remote access server.
In this case, in the properties of the SSTP connection, enable the use of Microsoft CHAP Version 2 (MS-CHAP v2) and save the setting.
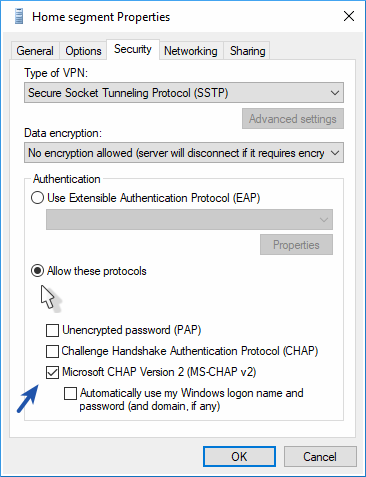
Then check the server connection.